Blog Six - Compositing Textures and Making Islands
I will be completely candid by going into this blog and saying I definitely am feeling the burn of this project, and am quite excited for the break! That being said, I feel like I didn’t accomplish as much as I wanted to this week, but I did set myself up nicely to get some things finished up in a timely manner! The group has also done such a great job at getting so much done at the beginning of the semester, so we are in a good spot progress-wise.
With that being said, this week I focused on finishing Jenny’s overall look and creating the main island the girls reside on. This included compiling together all of the shaders I made with my groupmates' shadow shaders, and collaborating on what we vaguely wanted the island to look like.
Finishing Jenny
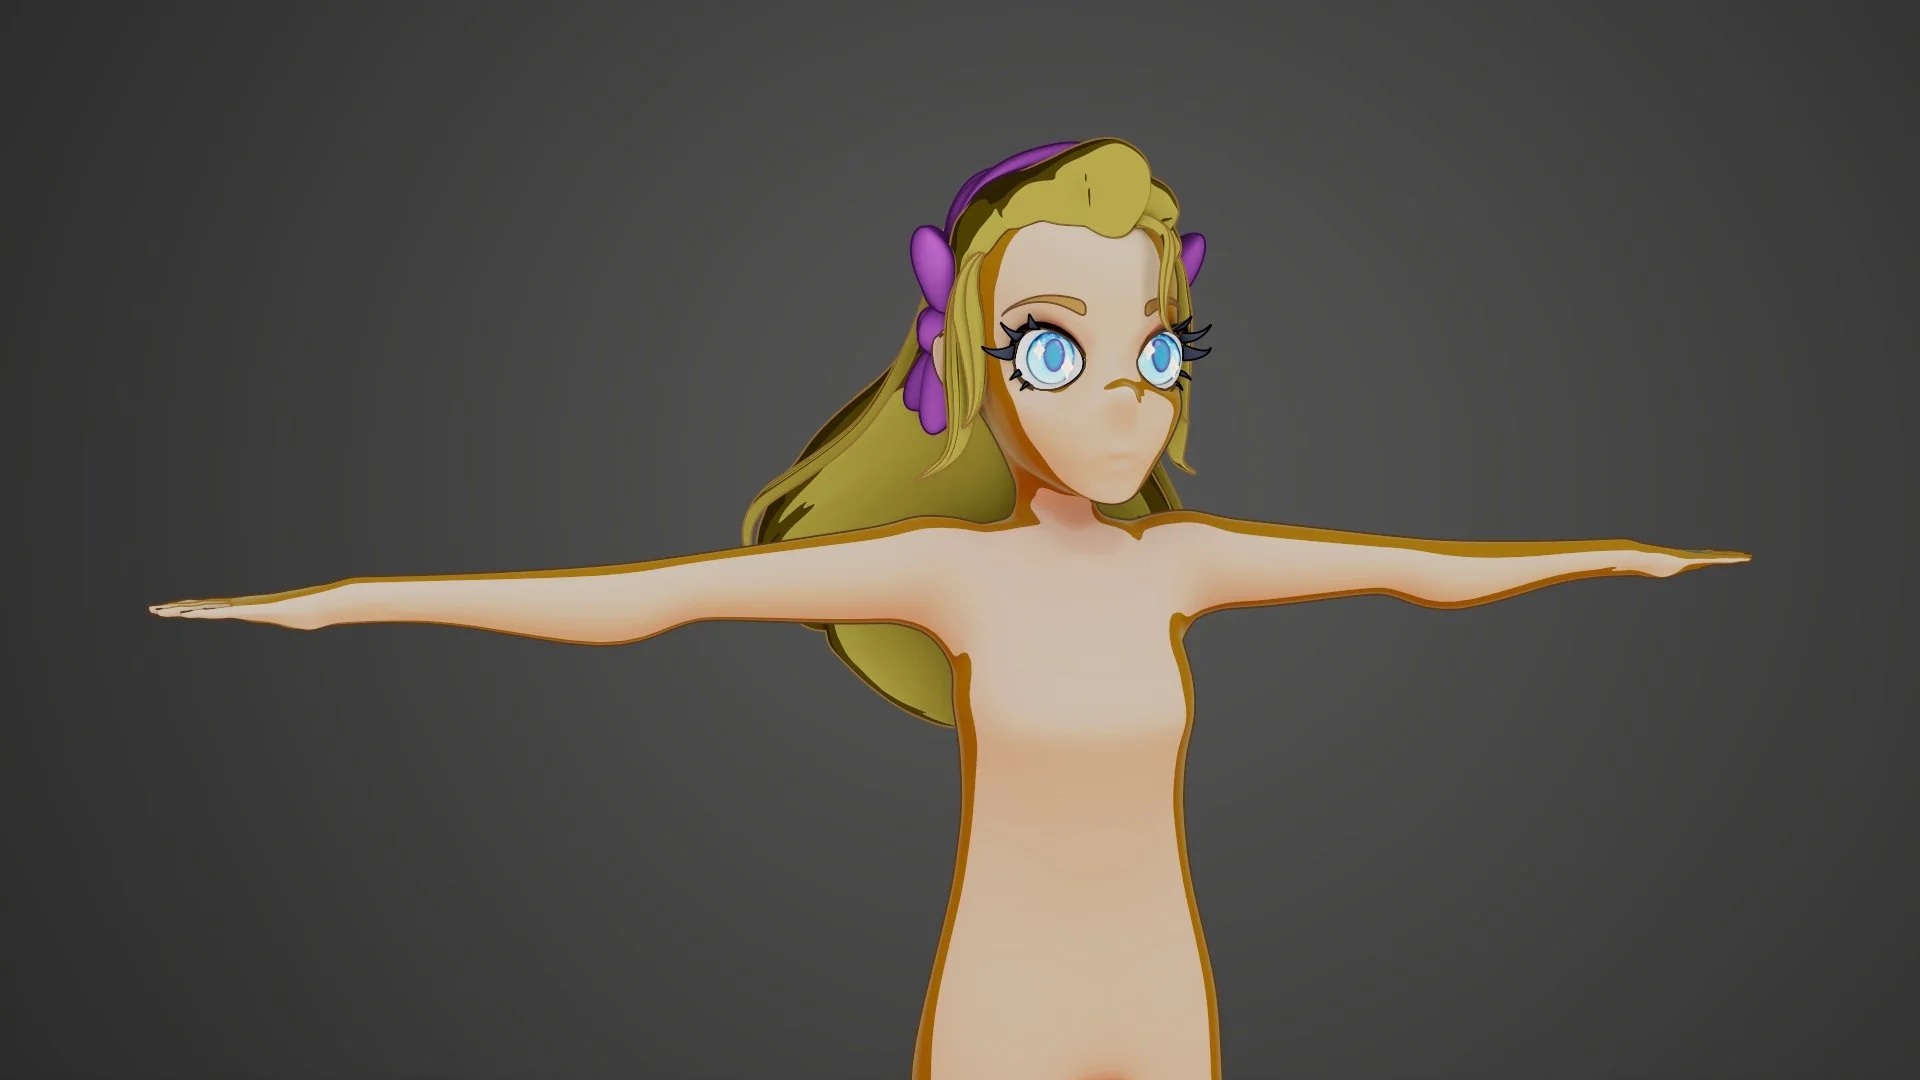
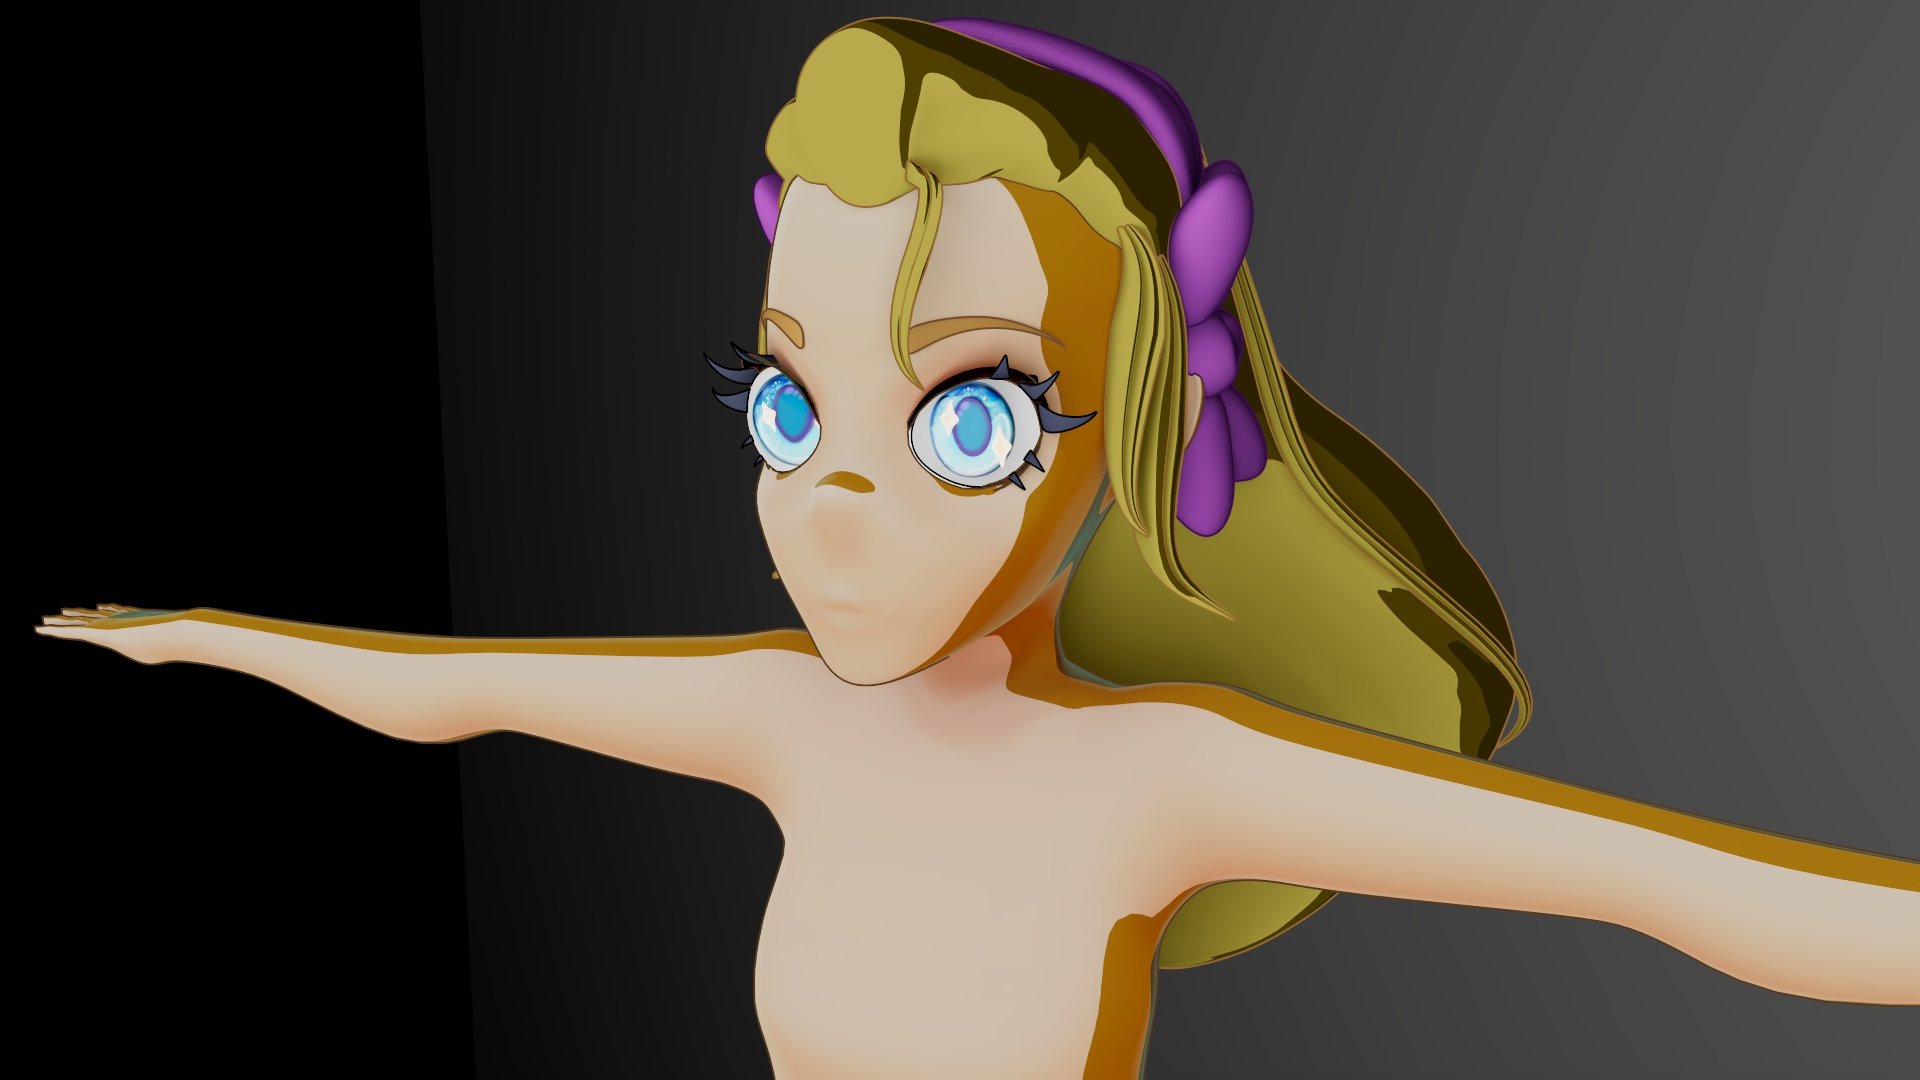
Compiling all of Jenny’s textures and extra geometry really turned out to be a labor of love, and was a stark reminder of how much detail and extra effort go into making something look stylized. The first hurdle was to combine the color-based texture painting I did last week in substance apinter with a dynamic toon shader that changes with lighting and adds a cartoony, call-shaded look. This, combined with my quite smooth shading, gives a really clean, yet stylized look.
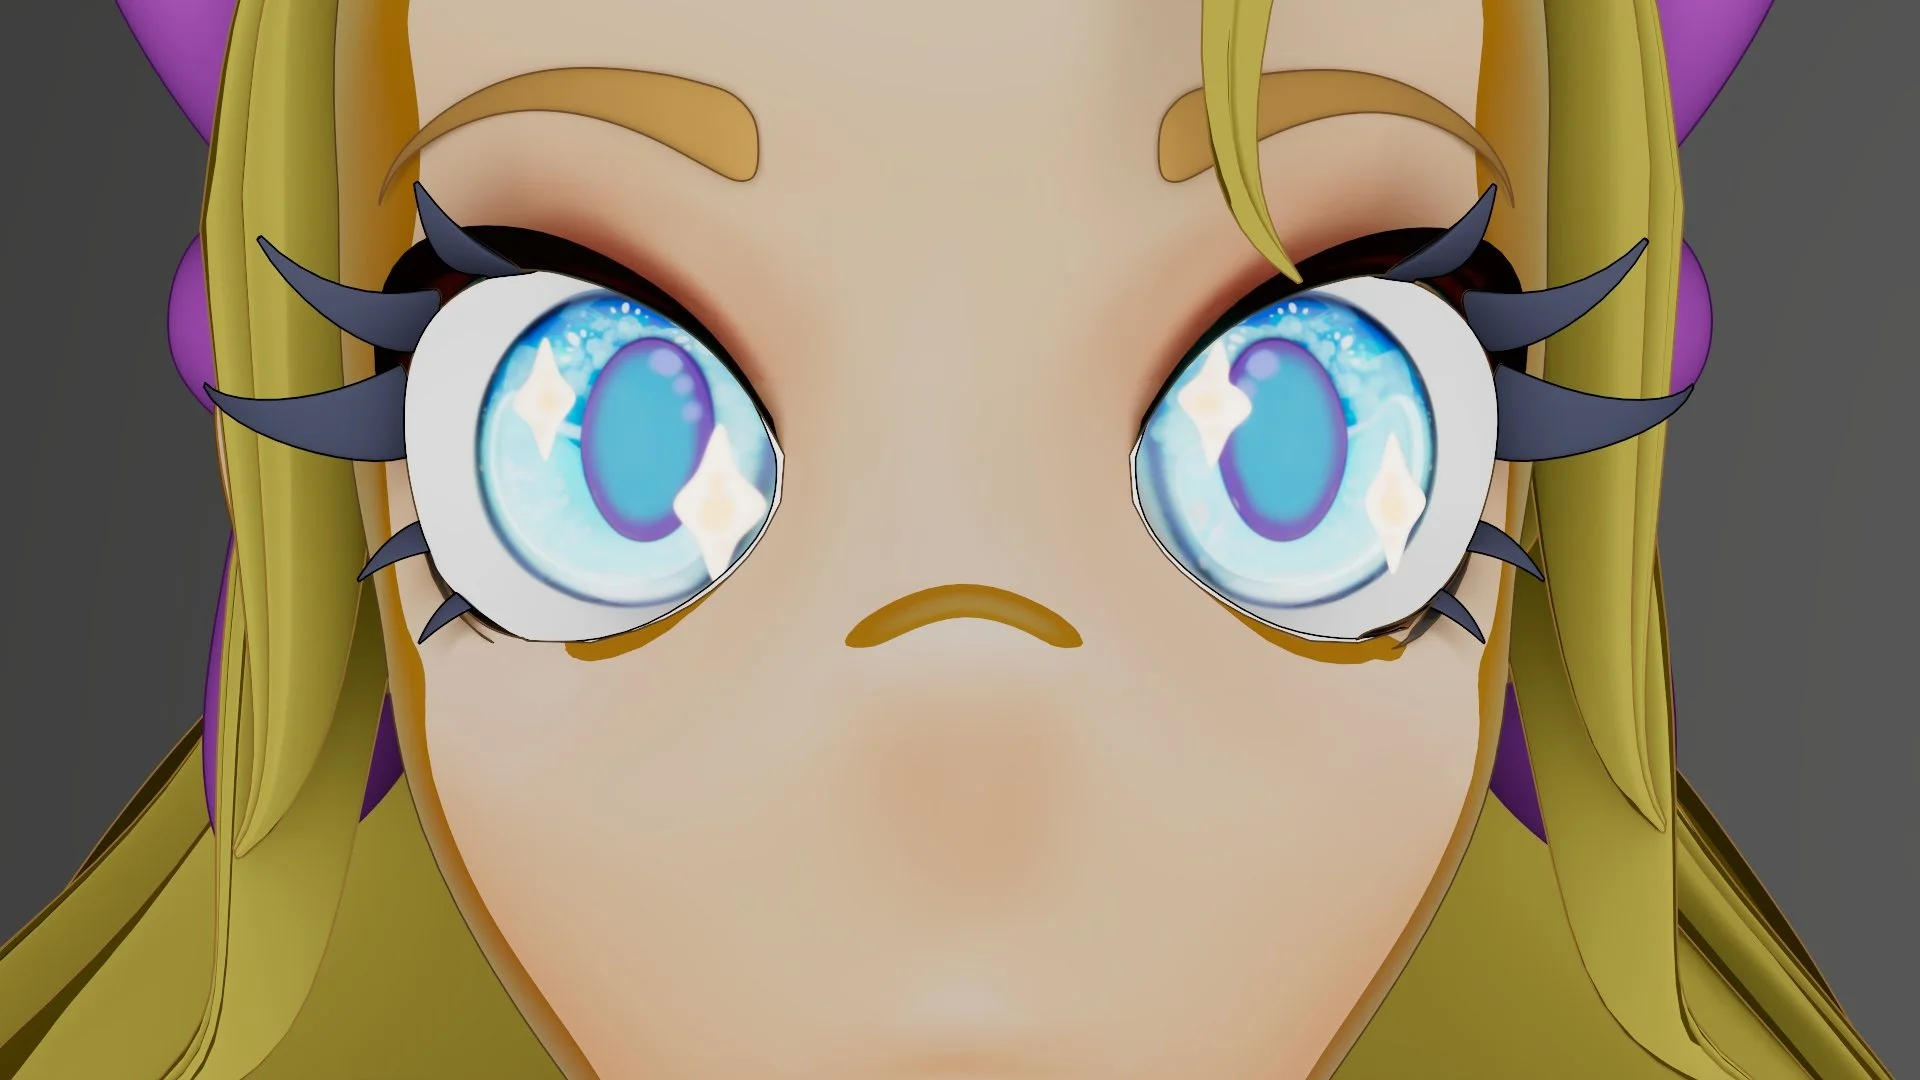
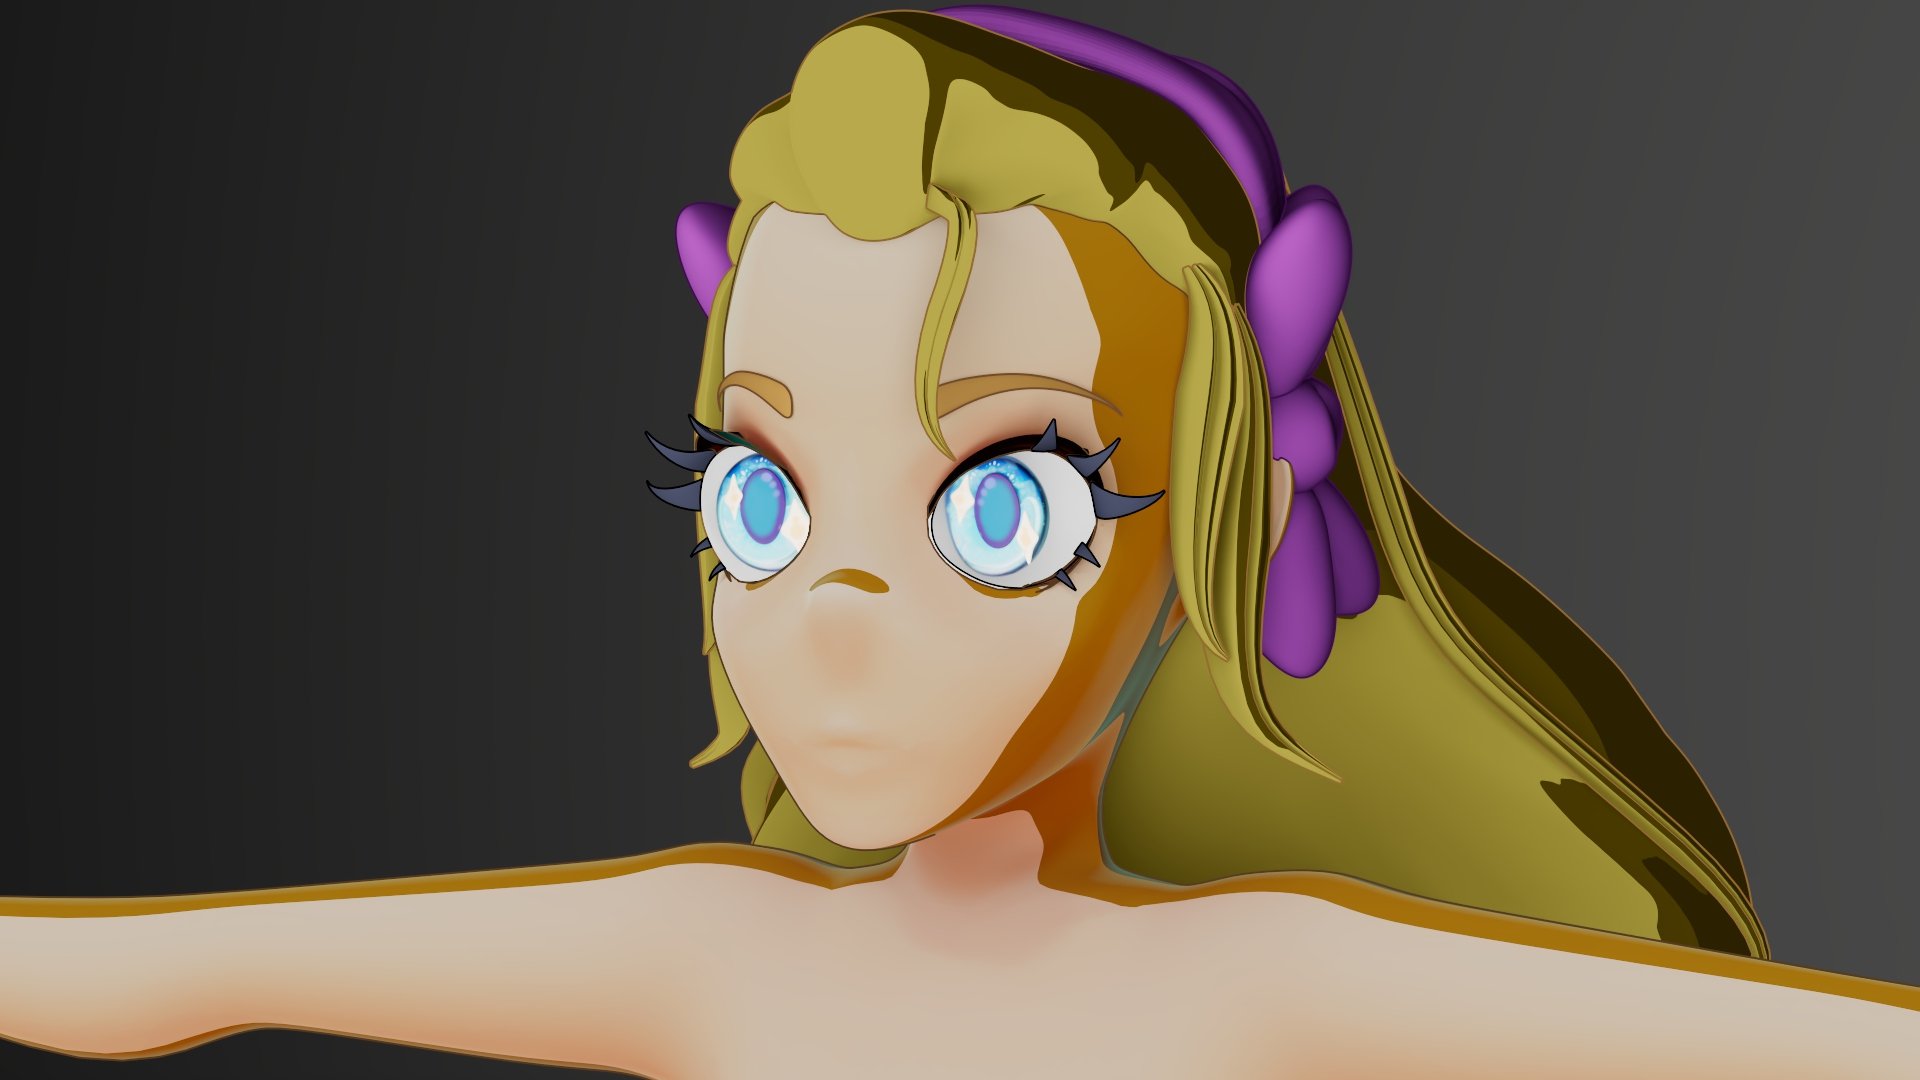
My group definitely took a gamble by making the base texture paints and the shader separately, but combining them together was actually quite easy! My group mate has been working for quite a while on making this dynamic shader, and it's really paid off! The eyes also turned out great; all I want is to make them look more saturated to really pop against her face. Going forward, I want to optimize the eyes' geometry to make it look believable from both the front and the side, while also retaining that illusion of being more 2D.
Making an Island
After completing the base textures for Jenny (and by proxy, the other girls), I decided to take on the task of modeling the island that houses Sparkleworld. This model was an incredible pivot from modeling the human face. Rather than focusing on small, smooth, and refined sculpting, I was able to create texture and style through my Zbrush sculpt for this island!
I started the island in Blender and built the base island from a star plane. It was hard to make the base not look like a tooth from the side, but through careful extrusions and placement, I was able to achieve the jagged yet simple look I was going for. I then utilized a geometry placement node system to place some smaller rock chunks randomly along the faces of my base island, and also randomly assigned the object's scale for an extra layer of randomization. This workflow worked really well and saved me a lot of time that I would have wasted placing each secondary rock chunk one by one.
Work for Over Break
I know that our project check-ins are right after we get back from break, so I have reserved some time to get some things done by the time we present. I want to have all of the girls textured, which is only a matter of changing colors and getting UVs transferred, and to also have a finished island sculpt of the island to show everyone next week!